

* Note: This is the beautiful princess photographer that helped make this tutorial/blog happen.

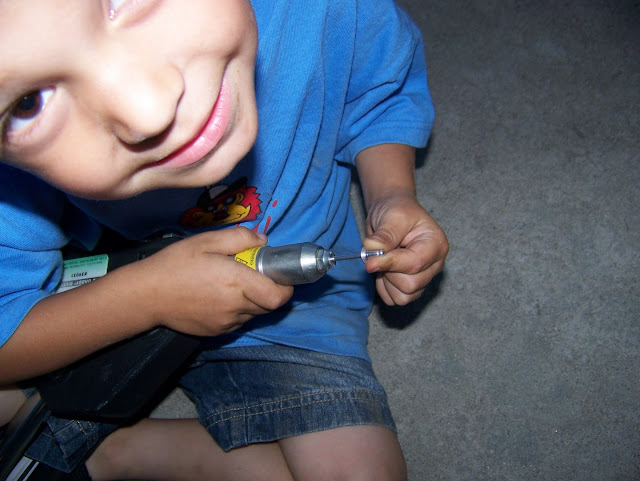
** Note: This is the handsome stud riveter that was used in the process. He is professional, safe, and knows excactly what he is doing.
SO HERE IT GOES!
I'm so pumped up! Just got the grille installed with the help of ma boy and daughter! He is and excellent riveter and she takes some excellent pics! Check it out, this is how I did it incase you need help with yours.1. first remove grille and disassemble headlights and hardware from old grille. The old grille can be removed by three bolts located behind the radiator/grille support panel, located inside the fender well.
2. Rivet holes on the original grille are 3/16" so I started with a slightly smaller drill bit. I made pilot holes through all the rivets (4 per side, 2 in middle) which did not quite knock out the rivets. So I finished them off with a full 3/16" drill bit. They all came out very easy and the pilot holes made it even easier.


3. Next I cleaned up, primed, and painted my headlight buckets. They are not too visible so I wasnt much concerned with the looks, just that they are a fresh black.
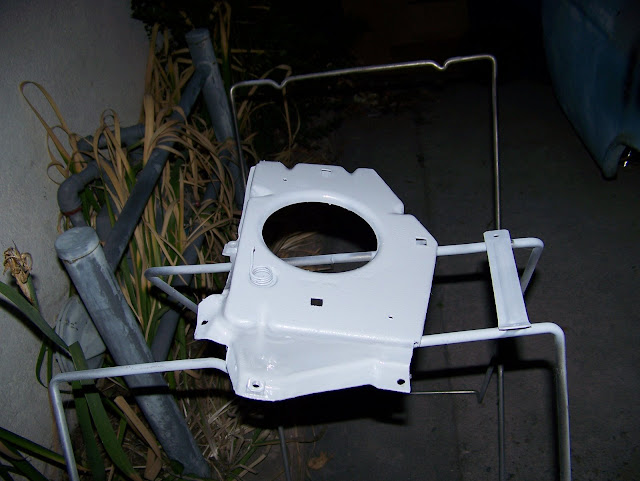
4. after the paint was completely dry, I begin to mount the headlight buckets into my NEW grille! First fit it in to make sure you have the correct ones on each side. I dont believe they will fit opposite. I used 3/16" diameter aluminum rivets with a gripping range of 1/8". These work PERFECT!

*rivets used
-----------------------------------------------------
*how to insert rivet into gun. Needle side in gun.
-----------------------------------------------------

* I found it easier to place the rivet head into hole first, then into the gun.
-----------------------------------------------------
5. Next get a strong 3 year old to pump those rivets in while you hold the pieces together! Again, there should be 4 rivets per side and a middle support bar. My NEW grille came with two middle support bars so I also riveted those in.


6. Next is the fun part! Bolt the grill back into place! Now you can either sit back and enjoy the new bling on your truck... or you can be pissed off because the shop provided only screws but no U-Clips to bolt on your new headlight bezels.


No comments:
Post a Comment