
OCTOBER 30, 2005
Today I will be removing the chrome trim and filling the holes with body solder. Unfortunately I do not have a welder, nor do I know how to weld. So from everything I have read, this is my next best option. Besides its an old school trade I wouldnt mind learning. The supplies were hard to find locally but persistence paid off. I found the supplies needed from a catalog but I HATE shipping costs. Im on a budget here and I dont have extra money to pay for shipping unless I have exhasuted all other options!
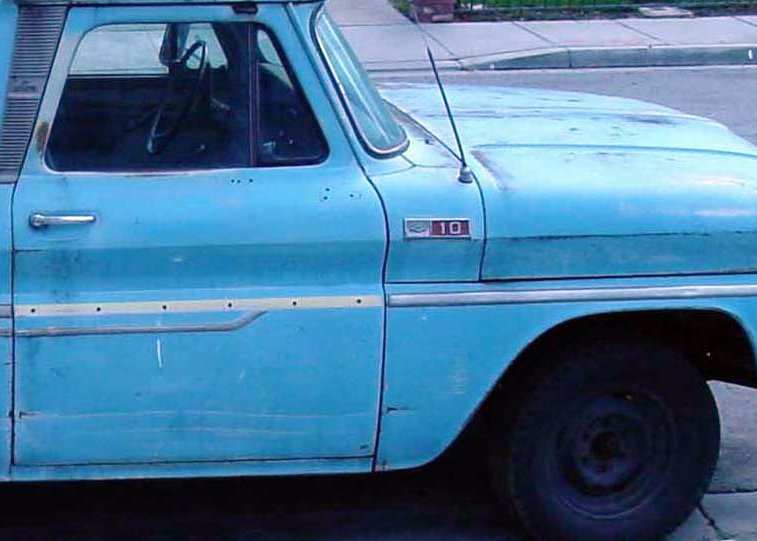
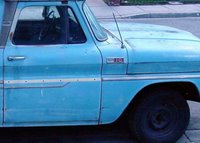
Here is my before image of what the truck passenger side trim was looking like. One piece was removed by who knows what. Fortunately, it allows me to also show you what it looks like underneath the trim. I did not plan on re-using any of the trim so I did not take care when removing the pieces or the moulding tabs.
**********************************************
Here is an image with the moulding removed. I will only show the steps for one hole. The same process is repeated for all trim holes.
**********************************************

**********************************************
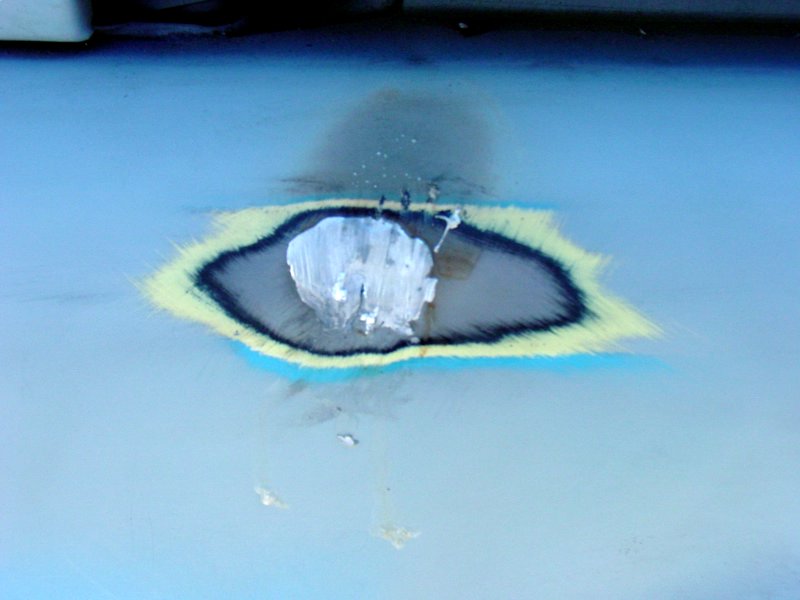

Before you actually apply the body solder I learned it is a good idea to have the "paddle lube" already melted onto your wooden paddle. So now that Im ready I heated up my solder until i saw it start to droop. Then I quickly put the glob just above the hole. Then I got the wooden paddle and smoothed it so it covered the hole. You may need to apply more heat in order to get a nice smooth glob like covering.
**********************************************
**********************************************
**********************************************
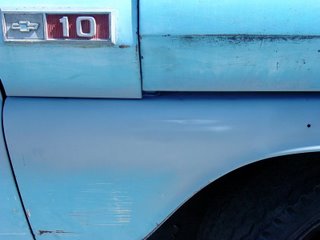
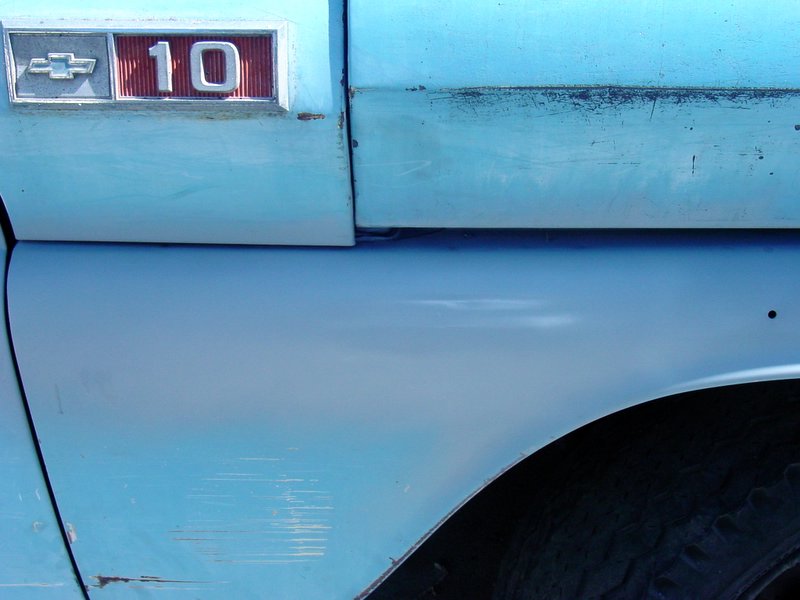
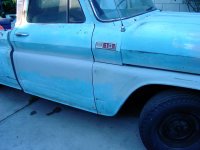 So... Here are my before and after pictures. I think they came out pretty good for a first time body solder. I am debating if I will keep the "c-10" badge on the hood cowl. Until I'm sure, it will stay on.
**********************************************
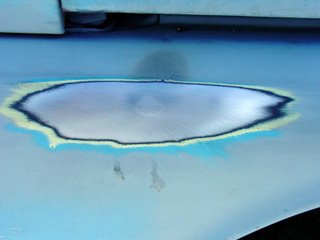
After the solder the solder was cooled I kinda poked and jabbed at it just to make sure all adhered well. Everything appeared okay. So I then grinded it down smooth and you can see the results below. I think it came out good.

**********************************************
I still plan on taking the body down to metal all around. But until I can do it right I sprayed some self-etching primer over the body work and then top-coated it with a body filler primer. Now it should be sealed until I can get around to finishing it off. In general, most of the holes came out with a smooth finish but there are a few that will require a bit of filler to cover some pinholes. No big deal really, I hear this is pretty normal.
**********************************************

 So... Here are my before and after pictures. I think they came out pretty good for a first time body solder. I am debating if I will keep the "c-10" badge on the hood cowl. Until I'm sure, it will stay on.


1 comment:
Nice work. I say leave the badges. They look good there and too many people thse days shave off everything and I think it is a little overdone.
Post a Comment