FEBRUARY - 2006
*************************************
My LIL MAN
chillin' in front of his truck
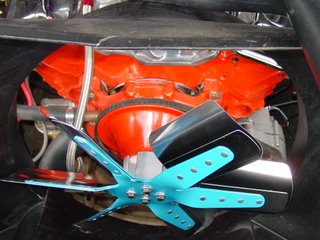
 So I decided to go with a mechanical fan. I hear its better in the long run then electric. So I may loose a few HP's... oh well.
Here are a few pics from different angles during installation
*************************************
My LIL MAN
chillin' in front of his truck
 So I decided to go with a mechanical fan. I hear its better in the long run then electric. So I may loose a few HP's... oh well.
 Here are a few pics from different angles during installation


